Harness the Power of DD-WRT – Transforming TP-LINK TL WR740N/ND V4 Router with Advanced Features and Optimal Performance.
How to install DD-WRT on the TP-LINK TL WR740N/ND V4 wireless router and how to revert back to TP-LINK firmware.
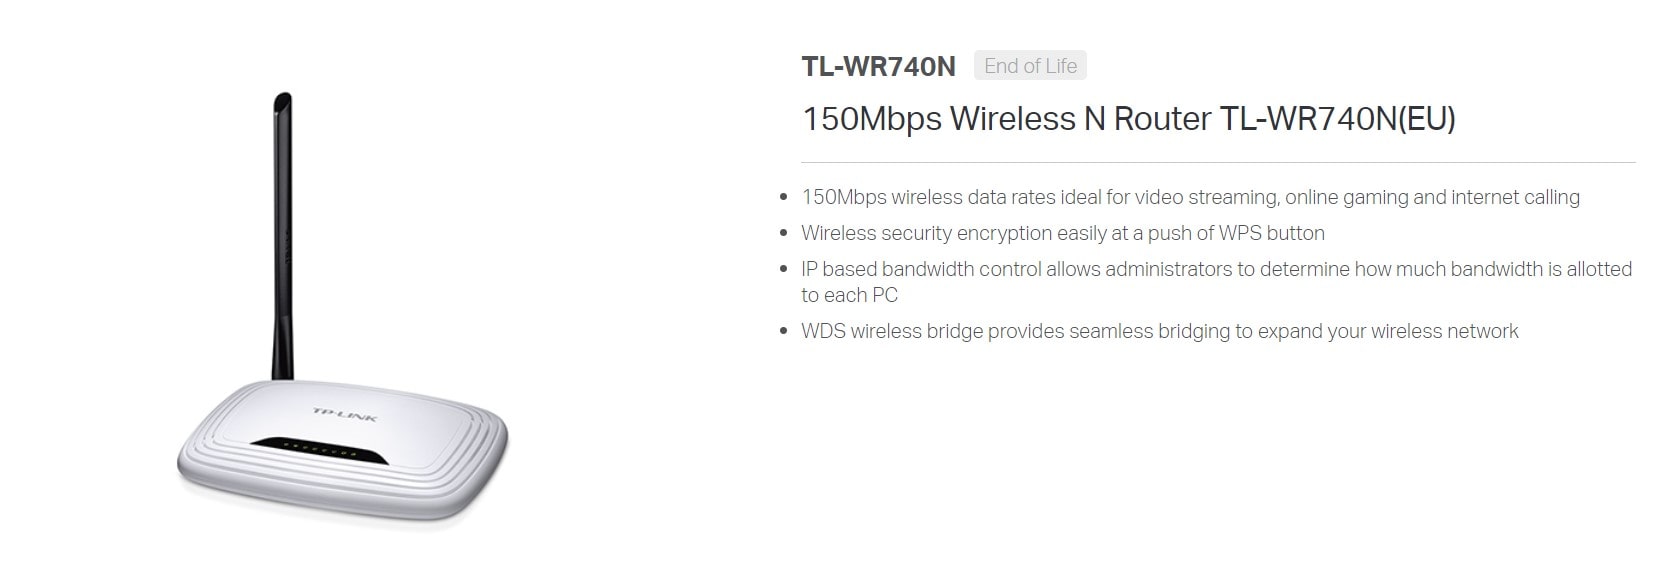
TP-LINK TL WR740N/ND is an inexpensive router that performs well on the LAN side, maintaining a speed of 100 Mbps on wired connections and providing decent performance on wireless, although the advertised maximum speed of 150 Mbps by TP-LINK is actually around 70-80 Mbps in the same room as the router.
As long as there aren’t too many mobile devices connected to it, the TL WR740N/ND performs reasonably well. However, its factory-installed firmware may not fully utilize its capabilities, and to maximize its performance, including increasing the transmission power (Max 18 dBm for V4 with DD-WRT), installing DD-WRT is recommended.
DD-WRT is an open-source firmware alternative that offers advanced features and customization options beyond what the default TP-LINK firmware provides. It is known for its stability, security, and compatibility with various router models.
Here are the steps to install DD-WRT on TP-LINK TL WR740N/ND V4:
- Download the appropriate DD-WRT firmware for your router model from the official DD-WRT website. Ensure that you select the correct firmware version and revision for TL WR740N/ND V4.
- Connect your computer to the router using an Ethernet cable.
- Access the router’s web interface by opening a web browser and entering the default IP address (usually 192.168.1.1) in the address bar. Enter the username and password to log in (default credentials are often admin/admin or admin/password).
- In the router’s web interface, navigate to the firmware upgrade section. Choose the DD-WRT firmware file you downloaded and start the upgrade process. Be patient and avoid interrupting the installation.
- Once the firmware upgrade is complete, wait for the router to reboot. It may take a few minutes.
- After the reboot, access the DD-WRT web interface by entering the router’s IP address in the browser. The default IP address for DD-WRT is usually 192.168.1.1.
- Configure the DD-WRT settings according to your preferences, including wireless network setup, security options, and any additional features you wish to enable.
By following these steps, you should have successfully installed DD-WRT on your TP-LINK TL WR740N/ND V4 router. DD-WRT offers a wide range of advanced features, such as VPN support, advanced QoS (Quality of Service) settings, VLAN configuration, and more, allowing you to customize and optimize your network setup.
Reverting back to TP-LINK firmware:
If, for any reason, you want to revert back to the TP-LINK factory firmware, follow these steps:
- Download the TP-LINK firmware for your router model from the official TP-LINK website. Ensure that you select the correct firmware version and revision.
- Access the DD-WRT web interface and navigate to the firmware upgrade section.
- Choose the TP-LINK firmware file you downloaded and start the upgrade process. Wait for the process to complete and for the router to reboot.
- After the reboot, the router should be running the TP-LINK firmware again.
Note: Reverting to the TP-LINK firmware will remove the DD-WRT features and settings. Make sure to backup any important configurations or files before proceeding with the firmware change.
Installing DD-WRT on the TP-LINK TL WR740N/ND V4 router can enhance its capabilities and provide additional features for advanced users. It’s important to follow the installation and firmware change processes carefully to avoid any issues.
Have you ever installed alternative firmware on your router? What was your experience like, and did it improve your network performance? We’d love to hear your thoughts and experiences in the comments below!

